Spring: Naturally dyed eggs

  
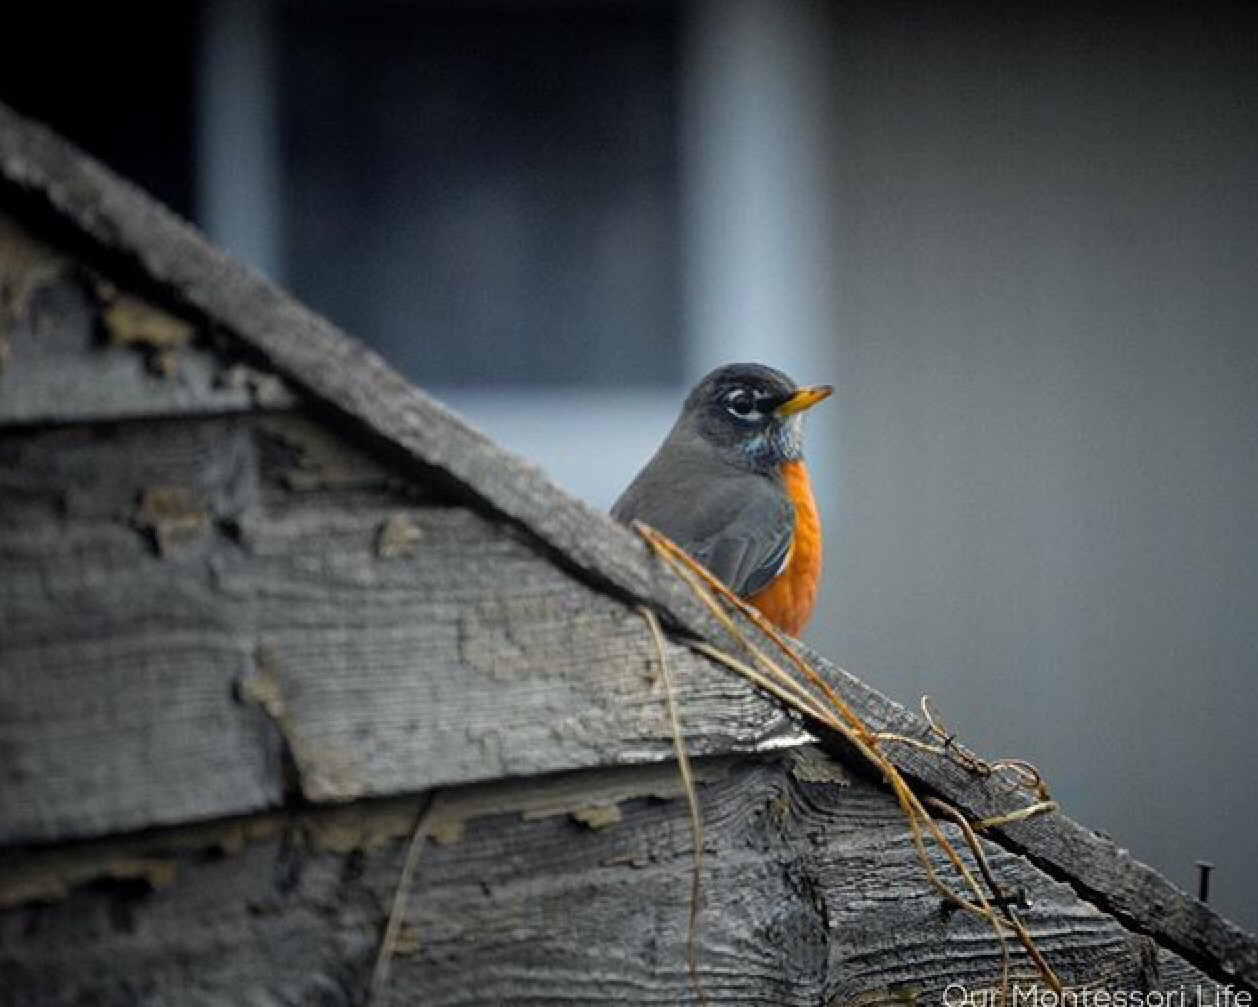
Sunshine, birds chirping and lots of time outside. We’ve been off on Spring Break and trying to spend as much time as possible together and relaxing. 
Egg dying was also on the agenda this weekend. Naturally dyed eggs are easy and fun for all ages. 

You don’t need much except patience. 

Materials:

  • White hardboiled eggs
  • Sheer stockings/pantyhose
  • Plant material 
  • Natural dying material 
  • White vinegar 
  • Tall mason jar

We used yellow onion skins, purple cabbage and blueberries. But the list goes on and on. Try experimenting with spices, beets, tea and anything else you’d like.

  1. Use one mason jar for each colour
  2. Put your dying material into mason jar
  3. Put in 2 tablespoons white vinegar
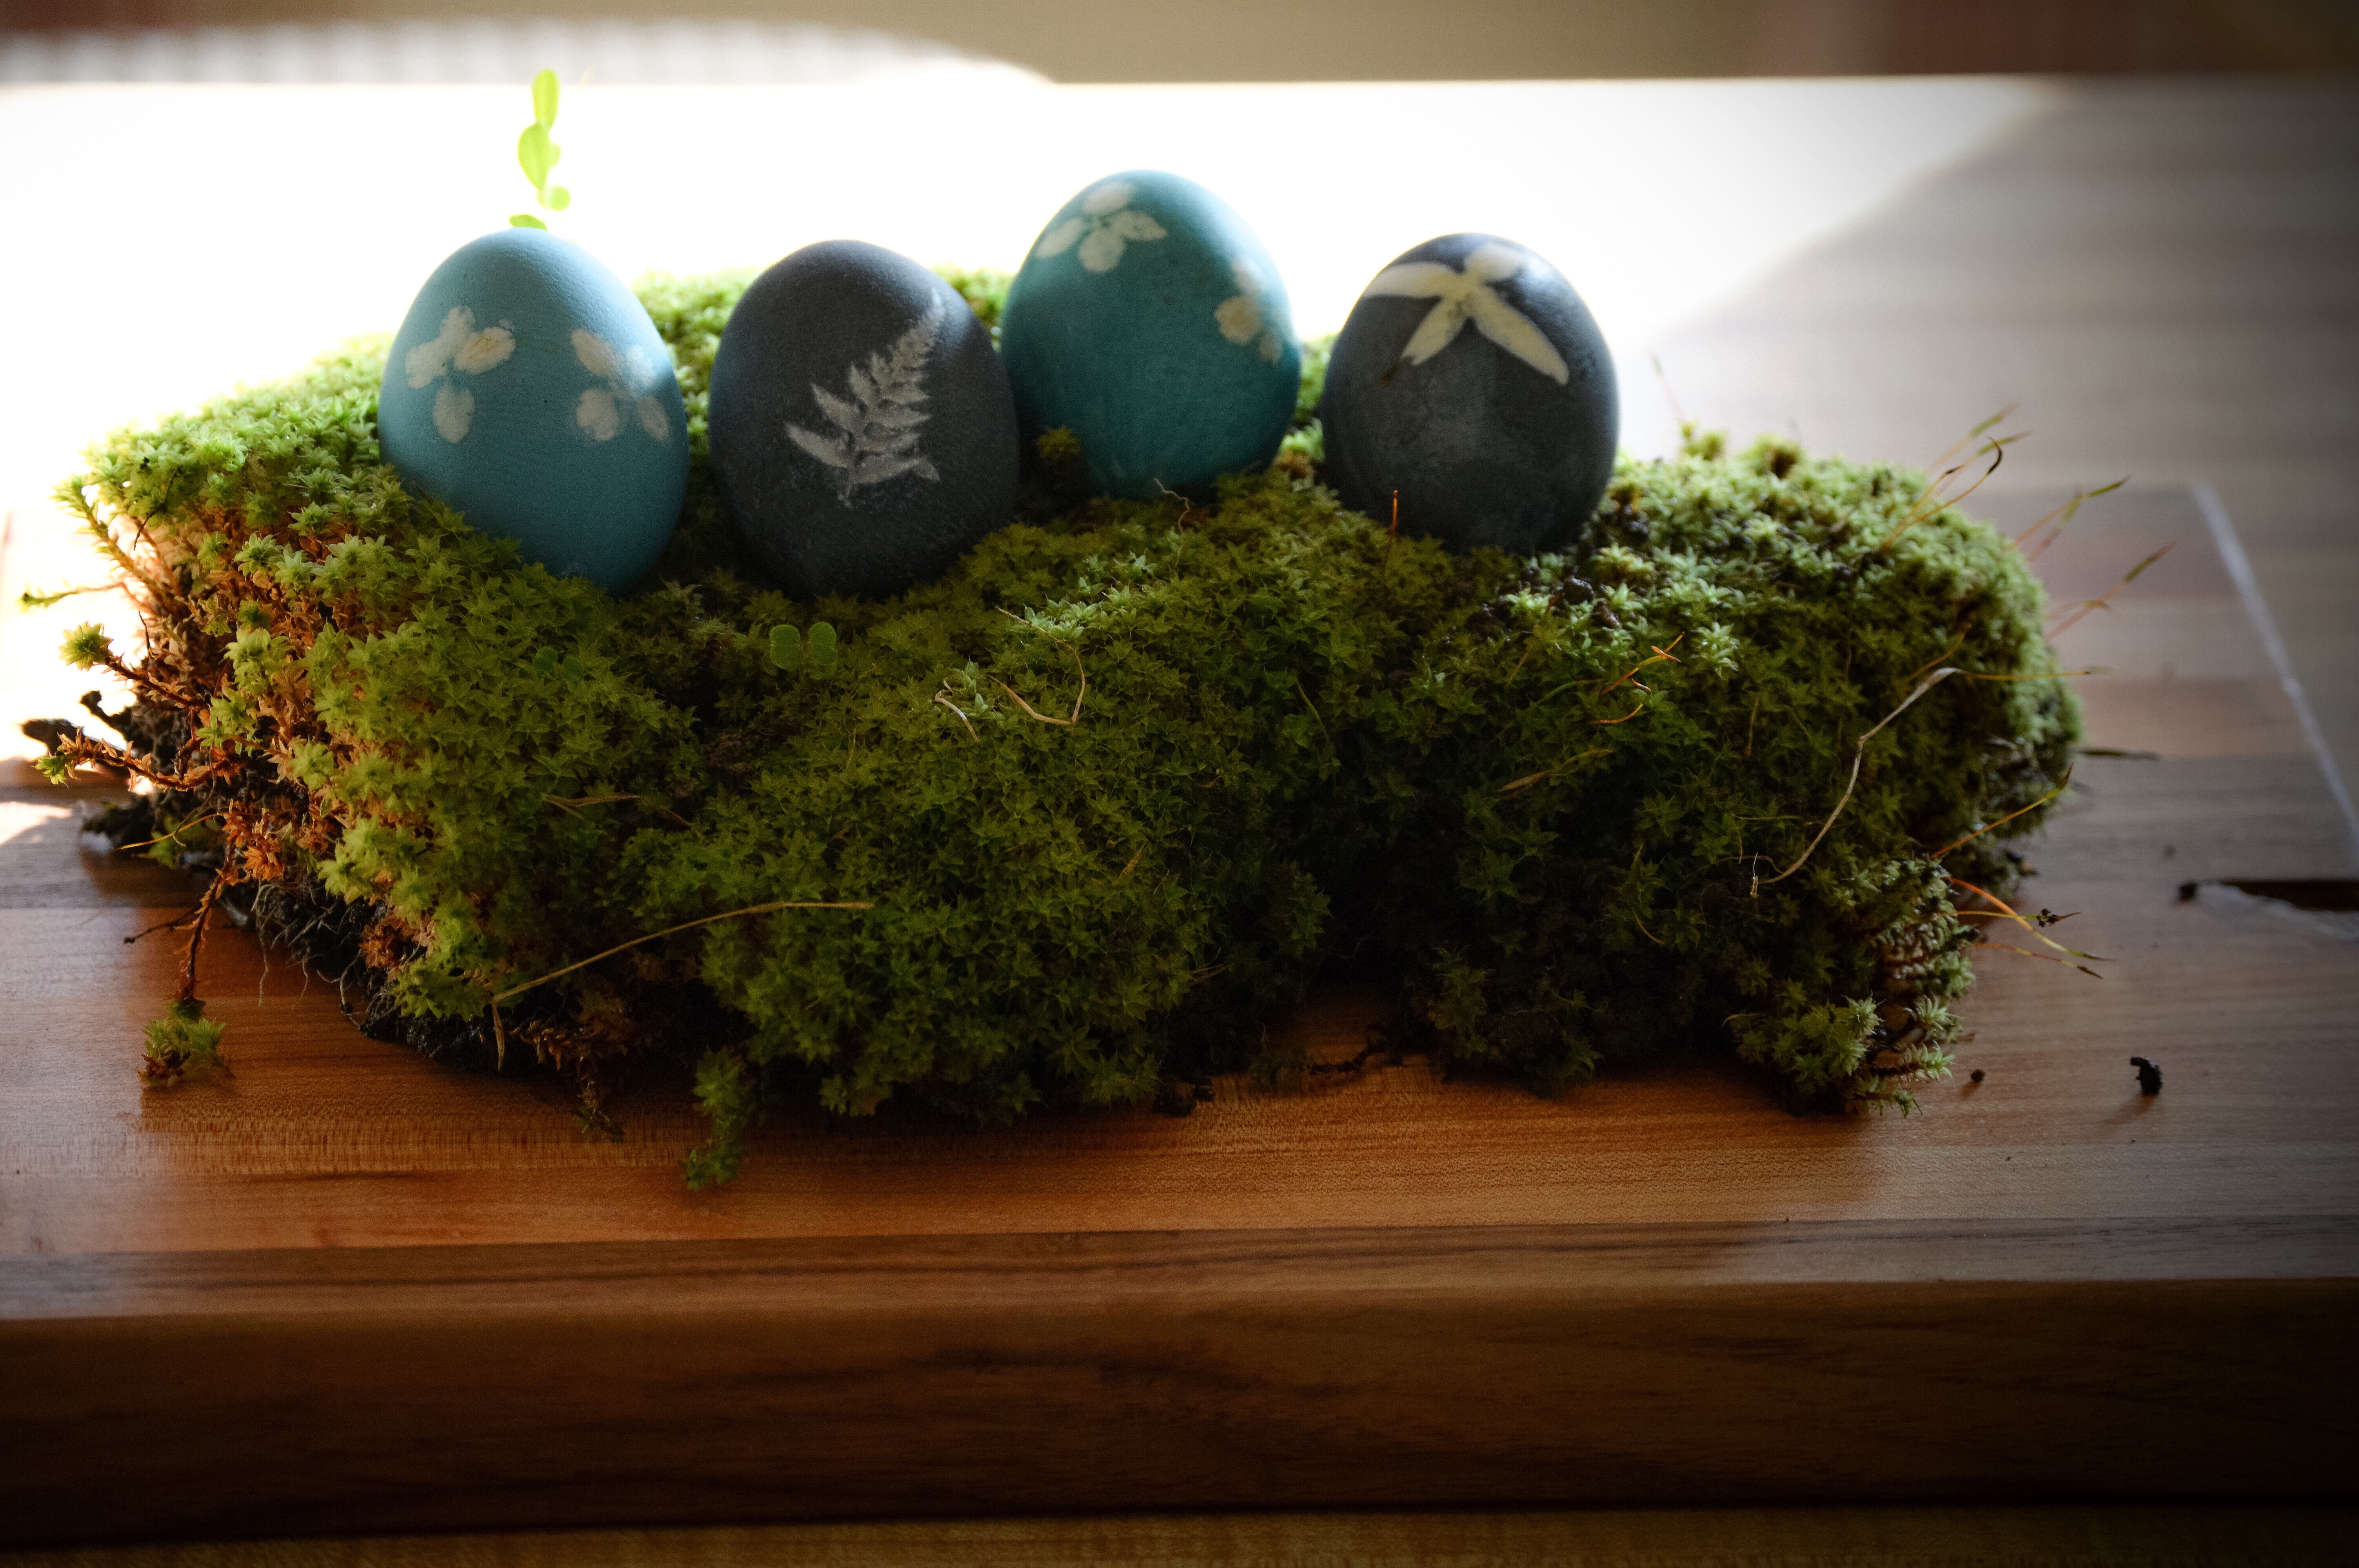
  4. Place a small piece of plant or flower onto egg (optional)
  5. Wrap egg tightly in stocking and tie it tight (optional, keeps plant material in place)
  6. Place egg into mason jar
  7. Pour boiling water into mason jar until egg is covered 

Leave for 3-6 hours, or overnight. 

Drain the jar when done, unwrap eggs and compost the dye material. Simple and beautiful. 

    
Have a safe and weekend. 

Advertisement

Holiday Craft: Solstice Lantern

IMG_2531-0.JPG

I admit it, I’m slightly crafty, so when Quentin’s teacher asked if I would like to give the class a small presentation on the Winter Solstice, I immediately began thinking of a “do-able” craft that was simple, inexpensive, and relevant but secular.
A paper lantern seemed to fit.

IMG_2515.JPG

Supplies needed:
small paper bags
stickers
pencil
scissors
something circular to trace
contact paper
tape

Instructions:
Trace circle onto front
Cut out circle, leaving the back of the bag uncut
Cut contact paper to twice the size of the hole
Fold contact paper in half horizontally, peel off the backing & lay it down on work surface sticky side up
Place sticker on one half of contact paper and fold other half over creating a sealed space where the sticker is
Tape contact paper to inside of the bag

IMG_2513.JPG

I finished them by placing a battery operated tealight inside each one.

A simple craft that can be altered to fit any holiday celebration.

I hope the children like them.