


Quentin has been using our home made lightbox for about a year and a half.
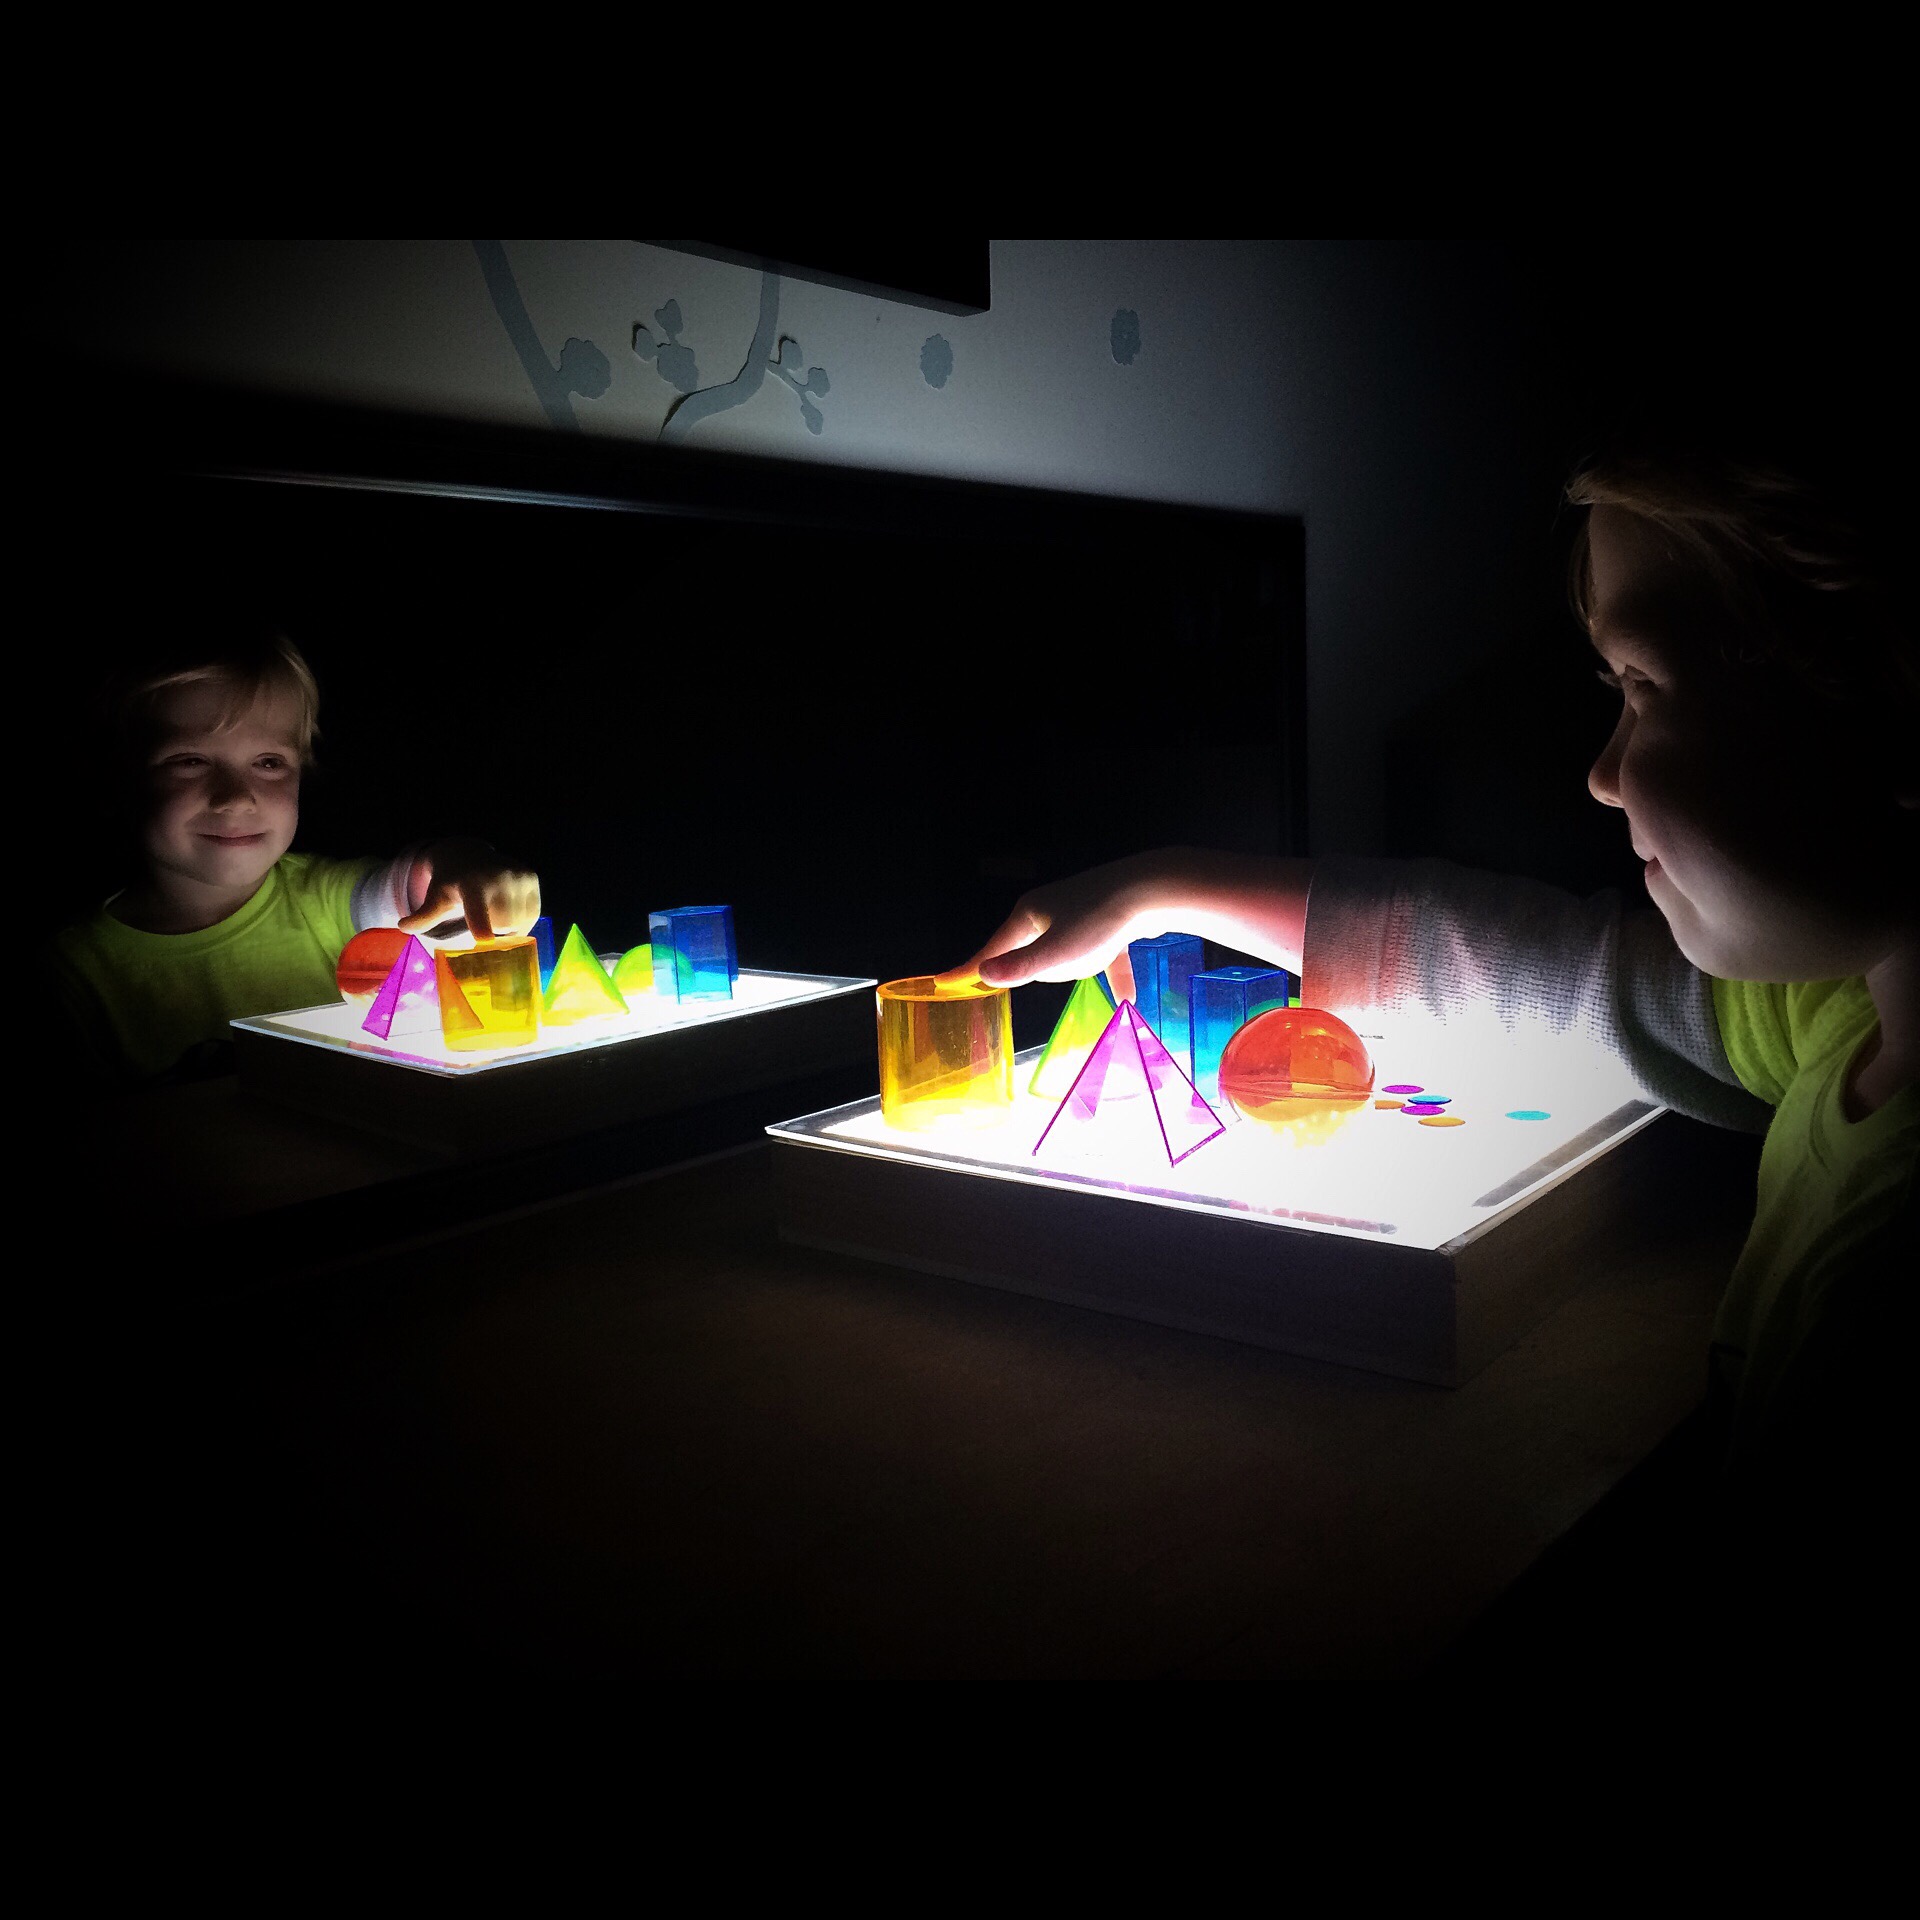
There are so many things you can do with it and it is a great sensorial experience, especially with a mirror in front of the child.
Many people have asked if I have a tutorial for our lightbox, after I posted the above picture on Instagram today.
I didn’t, but I quickly made one up.

Here’s your list of materials. If you have the tools, the materials can be very inexpensive. I got everything I needed (except for the glass) at our local big box craft store and as always had my 40% off coupon with me which I used for the wood frame.
Materials list:
- 30 cm square/12 inch square wood shadow box frame
- Safety rated indoor use rope light
- Frosted glass or plexiglass
- Drill and hole cutter adapter
- Glue gun
List of steps:
- Place the wood shadow box where you will use the light box. Think about where the nearest outlet is. Mark where you want to drill your hole. Should be on the same side of the box that the electrical outlet is.
- Drill hole in the side of the shadow box near the back corner (where you marked). You will pass your rope light through this.
- Stretch out your rope light & find non plug end.
- Thread non plug end of rope light through drilled hole until you reach the end of the light.
- Starting in the middle of shadow box hot glue down non plug end of rope light.
- Continue wrapping rope light in outward circle hot gluing every few centimetres/inches.
Ok. Check in. You should now have a wooden box with a hole in the side. Your rope light should be glued in a circlular coil from the middle of the box outward and be passing through the hole that you drilled.
Try to pack as much of the actual light inside the box so that none is sticking out of the hole and you can only see the cord. This will also ensure that you get even coverage of light coming out of the box and no dark spots.
Made a mistake? Hot glue once dried is easy to pry off. Re-adjust or just start again if you aren’t happy with it.
Ok. When you are happy with the coil test it out by plugging it in and gently placing the frosted glass on top. There is no switch on our box. We just plug it in when we want to use it. That’s why it’s nice if the cord exists the box on the same side as where the plug sits.
If you are happy with how it looks hot glue down the frosted glass to the top ridge of the wooden box.
You are finished!
Ok. Here is the big important disclaimer:
You absolutely need to use indoor safety rated (doesn’t get hot) rope light.
You absolutely need to use frosted glass to defuse the light your tiny loved ones are staring at.
And: Staring at any bright light for an extended period of time can damage your eyes.
Always use your lightbox in a semi dark (not completely dark) room and never for extended periods of time.
I hope this is helpful. Please feel free to leave questions here and I will try to answer them promptly.
Enjoy.
